When Sharne and I moved into our own home we had to buy new furniture as we both were living with our parents. One thing ‘they’ do not tell you is how expensive furniture can really be, where many of the, what we considered, small pieces were upwards of £250.
When I saw many of these pieces, they looked so easy to build myself. It was either that or my frugal mind telling me to save some money!
With that in mind, I thought I would put together a quick article outlining some easy steps to follow for building furniture from pallets and have also included a couple of very basic pallet furniture plans at the bottom of the page
Where can you find a pallet
Before you can start with your plans to build some furniture from pallets, you need to actually acquire some pallets! The best places to pick some up are from industrial estates or warehouse units. I have always found that businesses are more than happy to give them away as they just build up in their warehouses
Failing that, look around the streets where you live and try to locate the houses that are renovating. This is because bulk materials are often delivered on pallets
What tools are needed
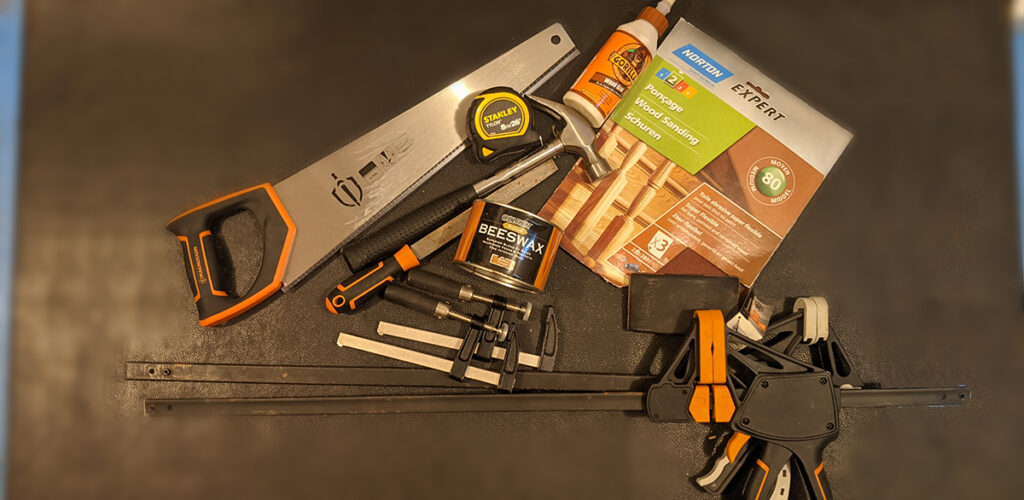
After you have found a pallet, rummage around in the shed to see if you have the below tools to hand. If not, you can always pick these up cheap from the likes of B&Q or your local builder’s merchant.
- Clamps
- Saw
- Tape measure
- Glue
- Sandpaper, Both medium and fine coarse levels
- Sandpaper block
- Dowels
- Drill
- Claw Hammer
- Chisel
- Varnish or wax of choice
If you want to build a piece with legs or a shelf with brackets, I recommend purchasing these, too. I managed to find some cheap legs and brackets in the reduced section in B&Q alongside some of the above tools and they are still perfectly fine still after 2 years!
Pallet furniture ideas
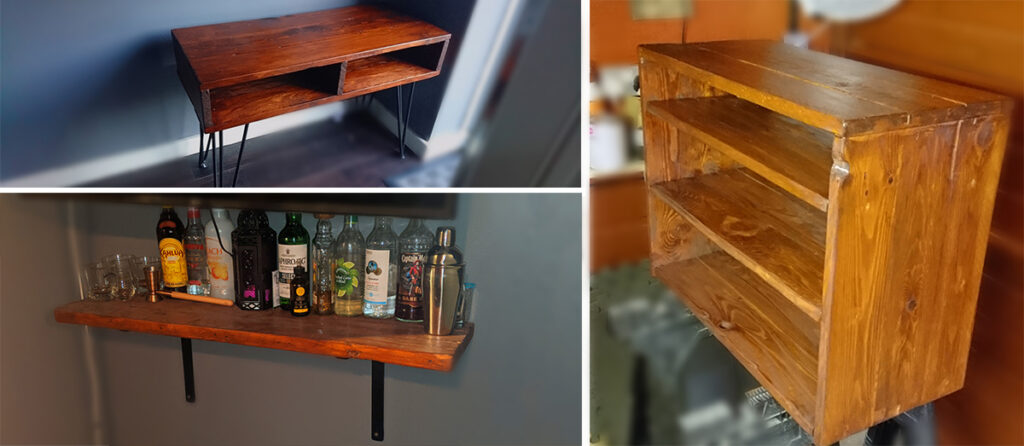
Here are three idea that I found the easiest to build:
- Sideboard
- Shoerack
- Shelf
Steps for building the above ideas:
Step 1
Sketch out what you want to build alongside the required dimensions. Be sure to consider the width and thickness of the pallet strips when sketching your ideas.
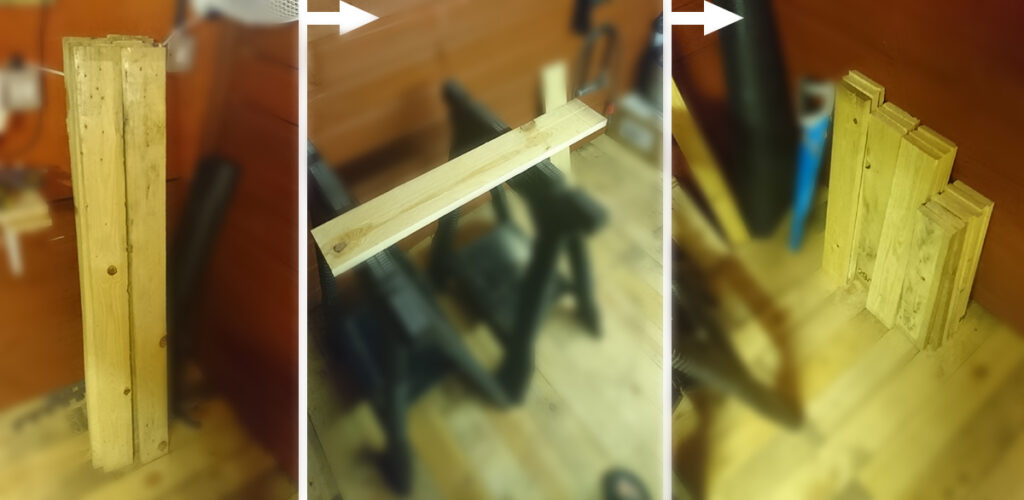
Step 2
Strip the pallet down using the chisel and claw hammer – Be careful of the nails when pulling the wood apart and try not to split the strips
Step 3
Use the tape measure and saw, cut down the pallet strips into your desired lengths. As mentioned in step 1, consider the thickness of the pallet. For example. If you want the sides to be 300mm and the thickness is 10mm, cut the side pieces to 290mm.
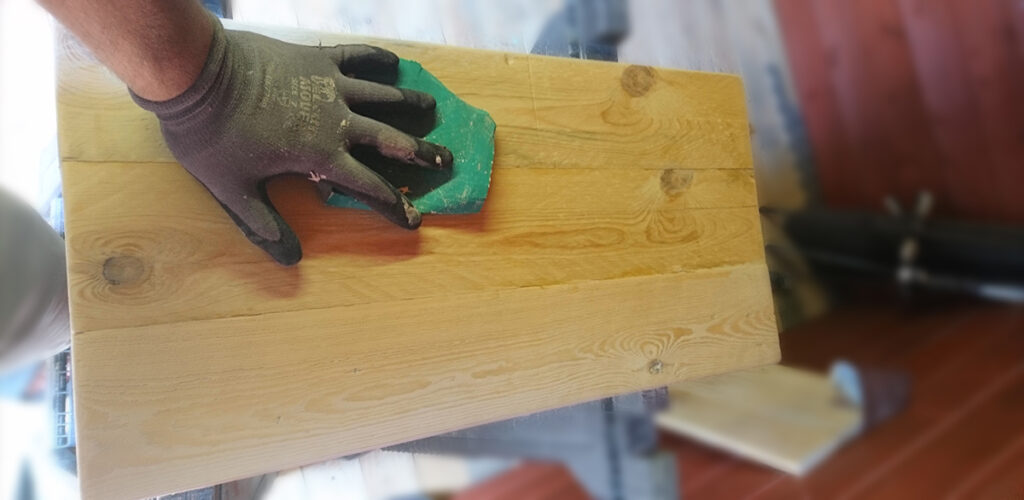
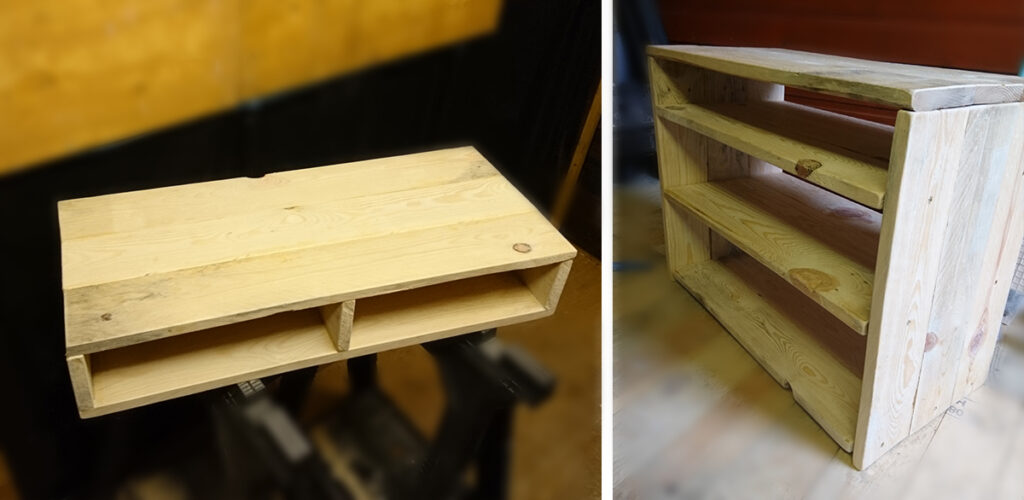
Step 4
Using the sandpaper and block, sand down the wood to ensure all rough edges are removed. Start with the coarse paper first working down the grain levels to the finest. This will ensure the smoothest finish. You should follow the grain when sanding because going against it can leave an untidy finish to the wood.
Step 5
Find a drill bit size that aligns to the dowel width and drill into the sides of the strips of wood, spacing them evenly apart and ensuring the holes align to its counterpart. Measure the length of the dowels and only drill into half its length for lengths of wood being put together side by side. End dowels can be cut to size where required.
Note, this is not a necessary step because if you are using a strong glue, such as Gorilla glue, and are only building a small piece, it will be sufficient on its own. I like the addition of the dowels for peace of mind.
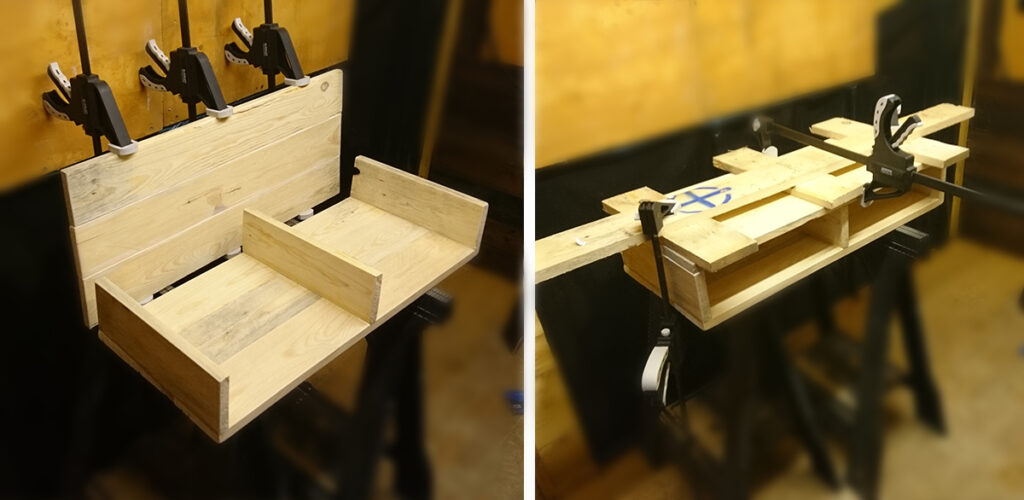
Step 6
Put some glue in the holes and down the length of wood, push each piece together, clamp tightly in place, and leave to dry. Dependent on how many clamps you have, you may need to do each length separately.
Step 7
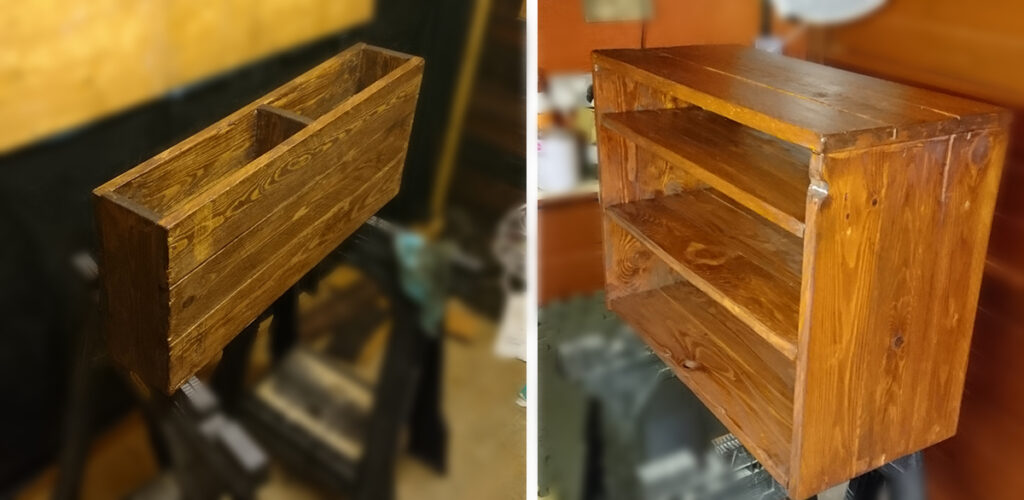
Once all the pieces have been assembled and have had plenty of time to dry, apply your varnish or wax of choice.
Step 8
As soon as the varnish has dried you can attach the legs or shelf brackets if required. I did not add legs to the shoe rack as I did not feel it needed them as made sense to keep it as close to the floor as possible for ease of kicking your foot attire away. However, I did slightly elevate the bottom rack by 5mm from the ground to keep a slight air gap.
Hopefully, you found this guide useful! Please let me know if you have any questions or think I have missed any key steps above. Have fun building!
James Banerjee is a Senior SEO Manager at The AA who graduated from the University of Kent in 2014. He works at The AA, looking after the Financial Services and Cars sections on the website. Prior to this he was an Account Director working with clients such as HSBC UK and Nestle. He has a keen interest in personal finances and money-saving advice.